ShotBetter← Back to ShotBetter

Inside ShotBetter

Learn one skill.
Go make a photo.

ShotBetter pairs practical lessons with guided photo recipes. Lessons explain a choice you can make with your phone. Recipes give you a specific picture to try, with simple checks for whether it worked.

01 / Learn the skill

Small lessons for better choices.

Each lesson shows what changes in the picture and gives you a short exercise to try with your own phone. These are eight examples from the app.

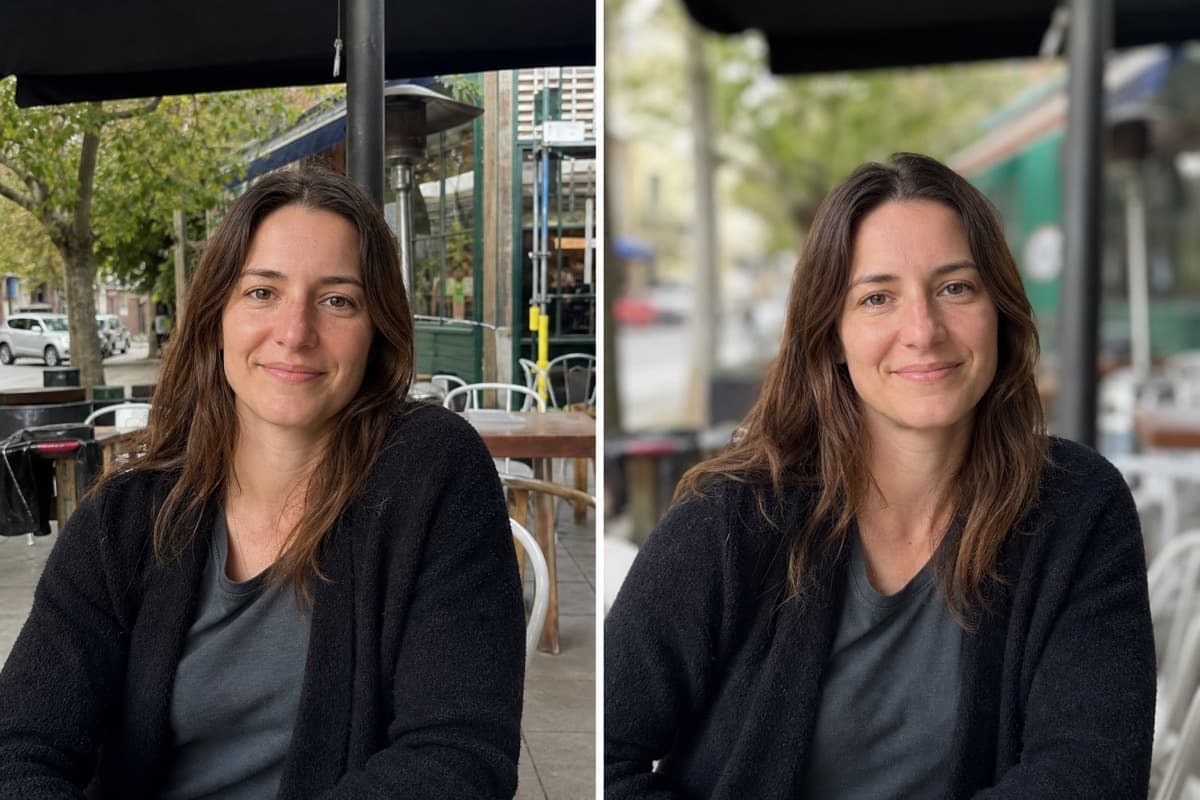
Needs work compared with Better for clean or soften the background
Needs workBetter

Composition lesson

Clean or Soften the Background

Move until the area behind your subject has fewer distractions.

Try it: Take three photos from slightly different positions. Compare which has the fewest distractions behind the subject.
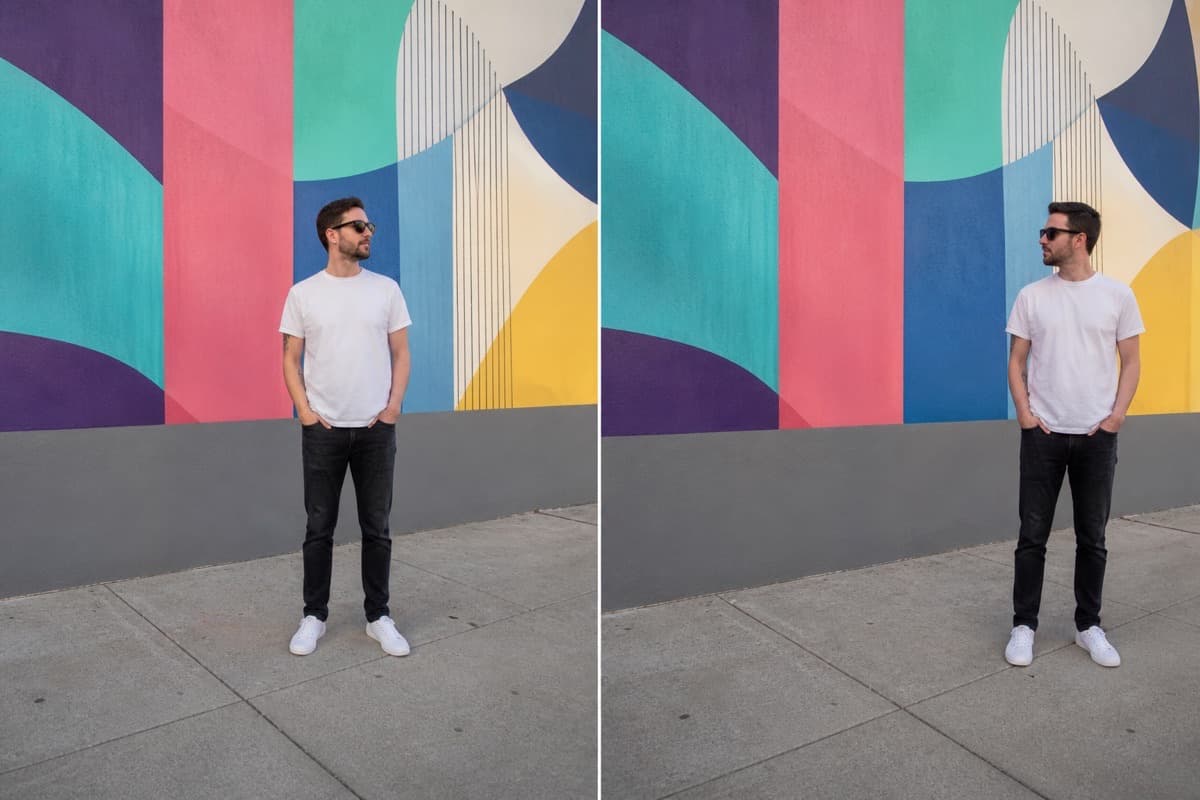
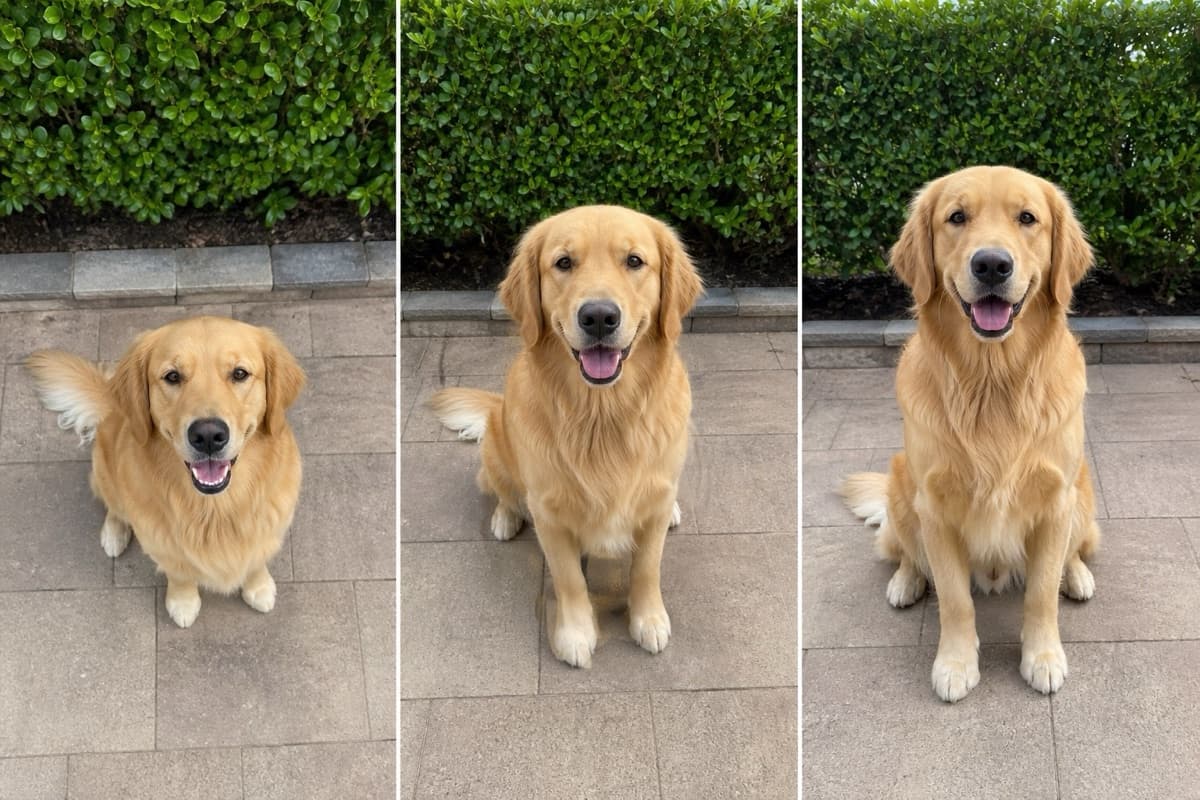
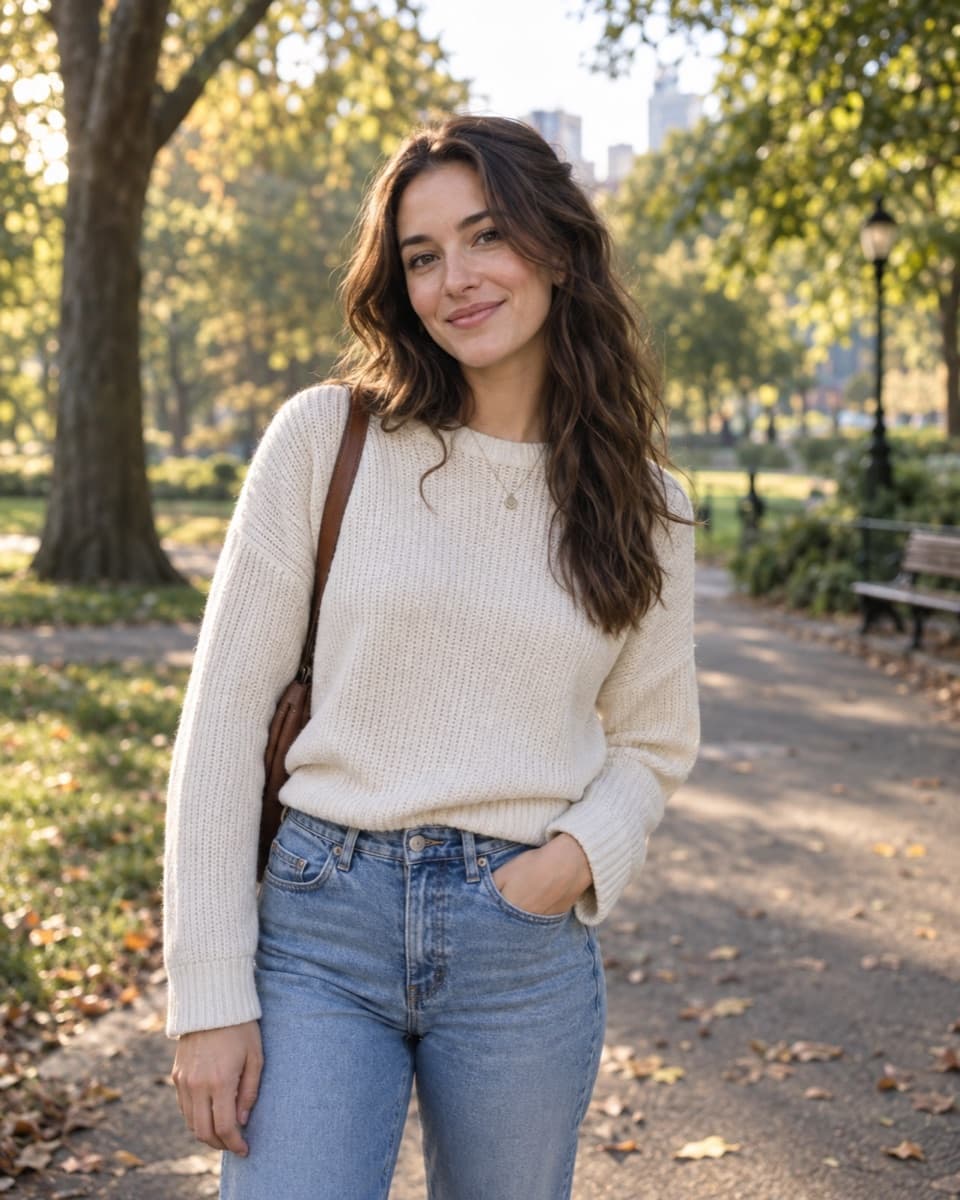
Centered by habit compared with Placed with intent for rule of thirds and subject placement
Centered by habitPlaced with intent

Composition lesson

Rule of Thirds and Subject Placement

Use the camera grid to compare a centered subject with one placed to the side.

Try it: Take a three-frame placement set: center, left-third, right-third.

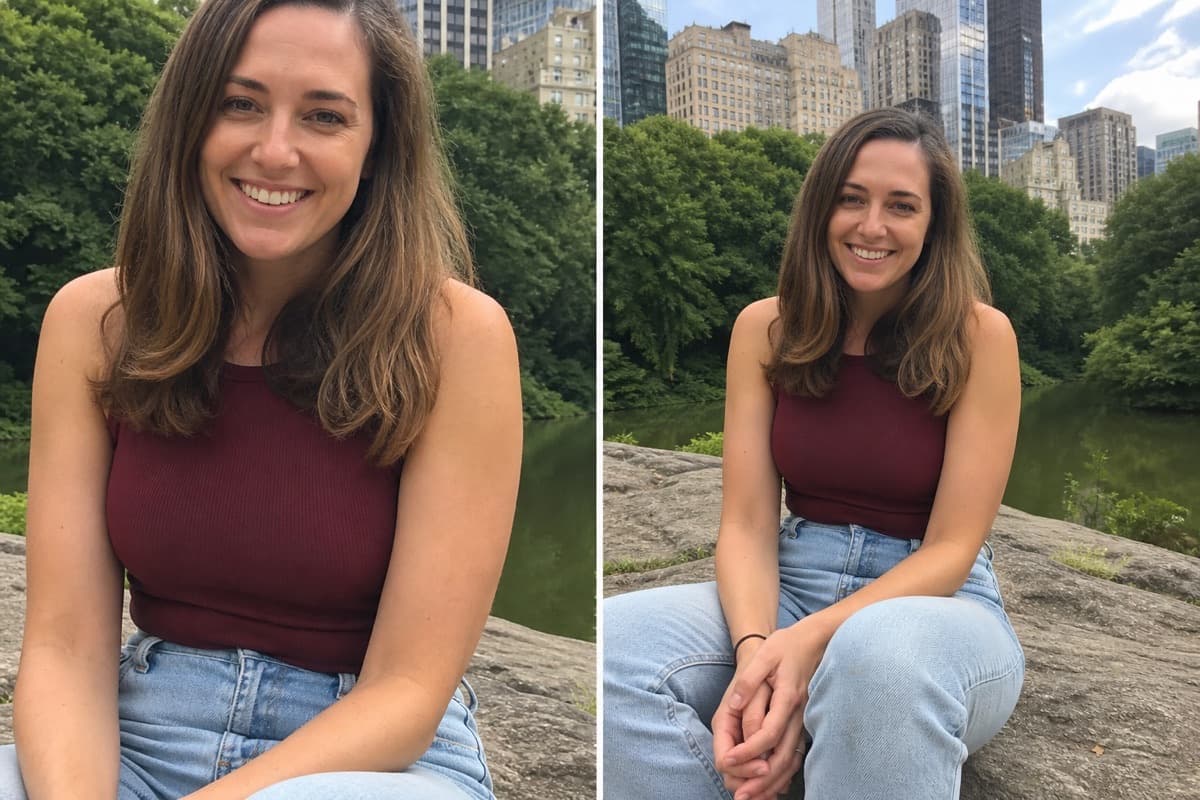
Too tight compared with Clean crop for breathing room and clean crops
Too tightClean crop

Framing lesson

Breathing Room and Clean Crops

Leave space around the parts of your subject you want to show.

Try it: Take one photo from your chosen position, then step back and take another. Compare whether the wider photo includes any hands, feet, or object edges missing from the first.

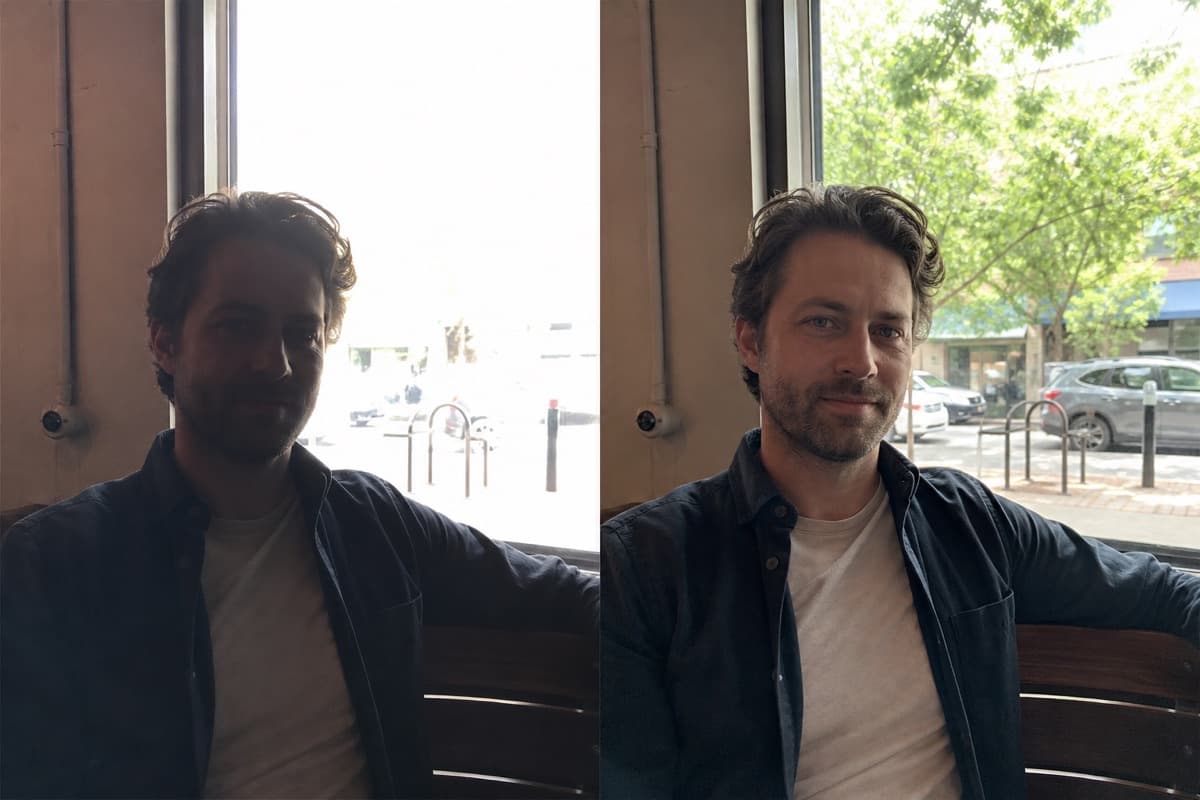
Subject too dark compared with Balanced for backlit subjects on iphone
Subject too darkBalanced

Light lesson

Backlit Subjects on iPhone

Keep the face or main subject visible when the window or sky behind it is much brighter.

Try it: Take one photo using the camera's automatic brightness, then another after tapping the subject and adjusting the sun icon. Compare the face and the brightest background area.

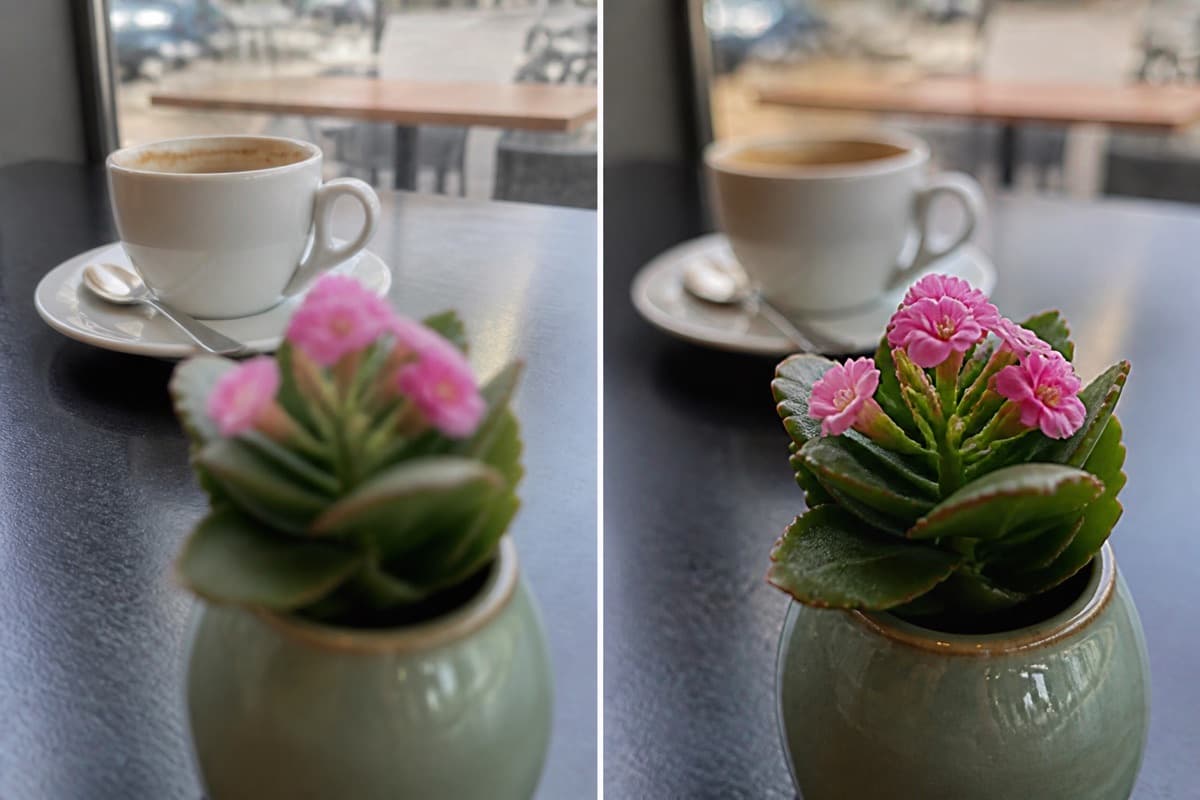
Focus missed compared with Focus placed for tap to focus with intention
Focus missedFocus placed

Focus lesson

Tap to Focus with Intention

Tap the detail you want sharpest before taking the photo.

Try it: Take two versions: one without deliberate focus control and one after tapping the exact focus target.

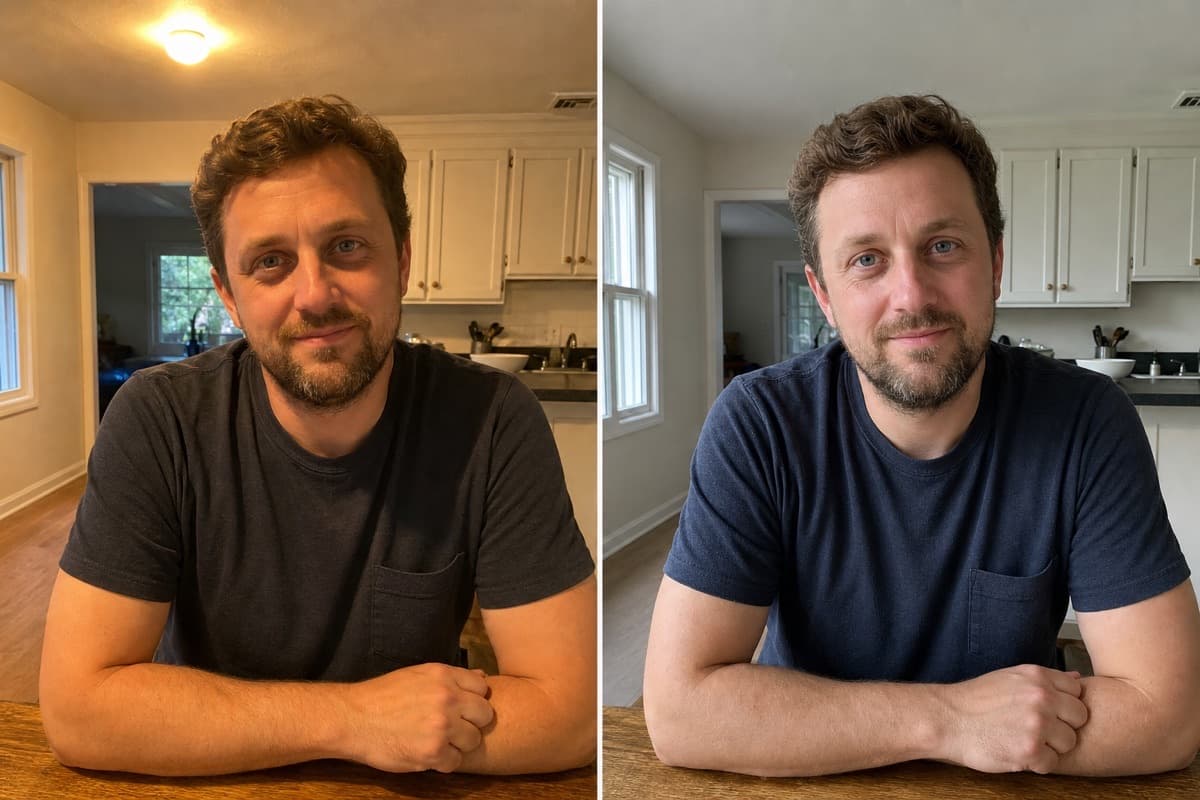
Mixed light compared with Window light for find clean, flattering light
Mixed lightWindow light

Light lesson

Find Clean, Flattering Light

Use light from a window or open shade to show natural color and gentler shadows.

Try it: Photograph the same subject under mixed room light, then beside one window with the room light off. Compare color and facial or surface detail.

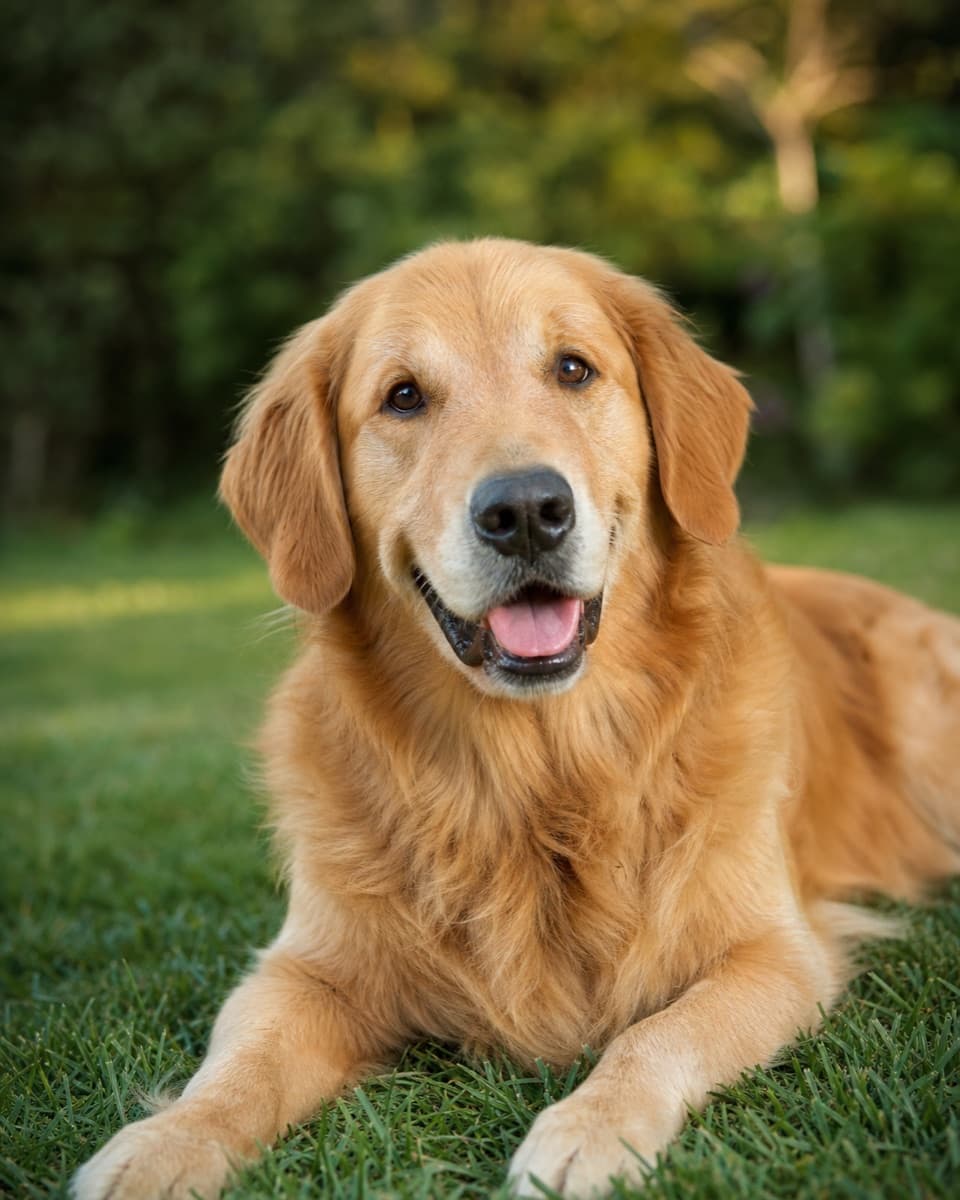
Standing height compared with Eye level for photograph pets at their eye level
Standing heightEye level

Pets lesson

Photograph Pets at Their Eye Level

Lower the phone to your pet's eye level and focus on the eye nearest you.

Try it: Take one photo standing up and another with the phone at your pet's eye level. Compare how clearly you can see the eyes and expression.

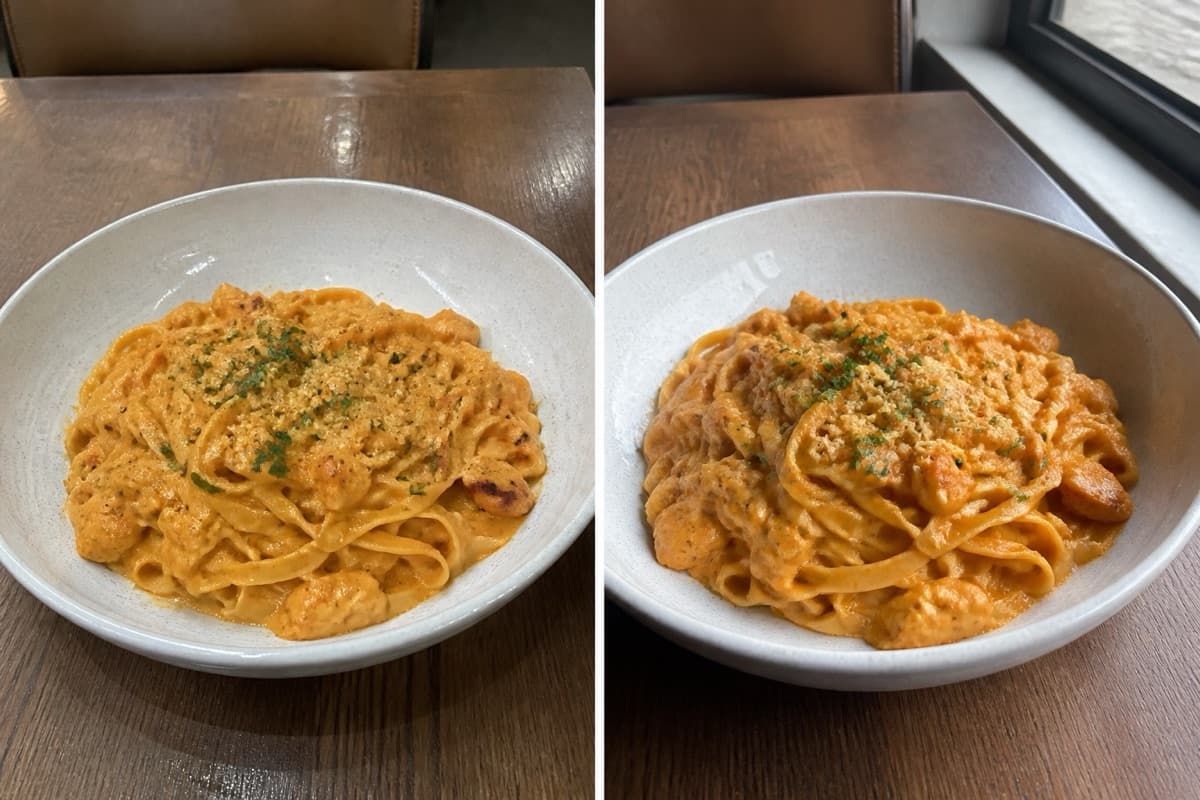
Flat overhead light compared with Soft window light for use window light for food
Flat overhead lightSoft window light

Food lesson

Use Window Light for Food

Light food from the side to show its texture and avoid blank white reflections.

Try it: Photograph the same dish once with overhead light and once beside a window. Compare which version shows more texture.

02 / Put it into practice

A photo worth going out to make.

Recipes turn an idea into a shot: what to photograph, where to put the phone, and what to check before you finish. Here are eight from the app.

Example photo for the Choose a Camera Height for One Person shot recipe

people · Shot recipe

Choose a Camera Height for One Person

Use a natural camera height that keeps a person recognizable and comfortably proportioned.

First move: For a face-and-shoulders photo, hold the phone near the person's eye level or slightly above it. Keep the phone nearly level.

Quick check: Does the face look natural, without an exaggerated forehead, chin, hands, or feet?

Example photo for the Set a Flattering Camera Height for a Group shot recipe

people · Shot recipe

Set a Flattering Camera Height for a Group

Use one neutral viewpoint so everyone in a group looks clear and naturally proportioned.

First move: For one row, hold the phone near the eye level of the people in the middle. Keep it level rather than aiming up or down.

Quick check: Does every person have a visible face with natural proportions?

Example photo for the Food at a restaurant shot recipe

food · Shot recipe

Food at a restaurant

Make the dish look inviting without showing a cluttered table or your phone shadow.

First move: Place the plate where light falls from one side. Move spare glasses, napkins, or bags out of the photo.

Quick check: Can you see the food's texture clearly?

Example photo for the Pet eye-level portrait shot recipe

pets · Shot recipe

Pet eye-level portrait

Get low, make the eyes clear, and let your pet fill the frame with personality.

First move: Kneel or sit so the phone is near your pet's eye height.

Quick check: Are the eyes and nose clear rather than blurred?

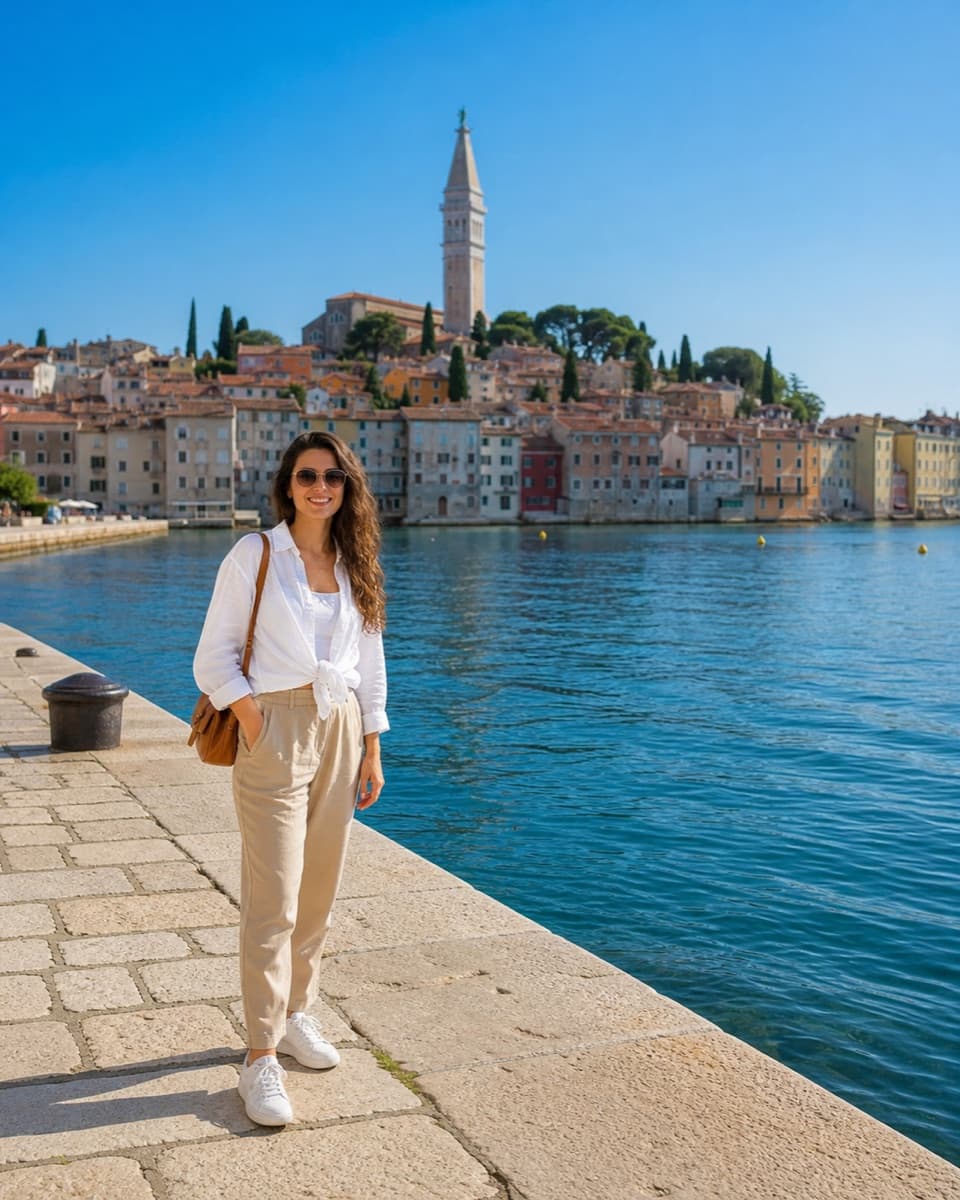
Example photo for the Person with a landmark shot recipe

travel · Shot recipe

Person with a landmark

Keep the person important without losing what makes the place special.

First move: Move sideways until the landmark is visible beside the person rather than directly behind their head.

Quick check: Can you recognize both the face and the landmark without zooming in?

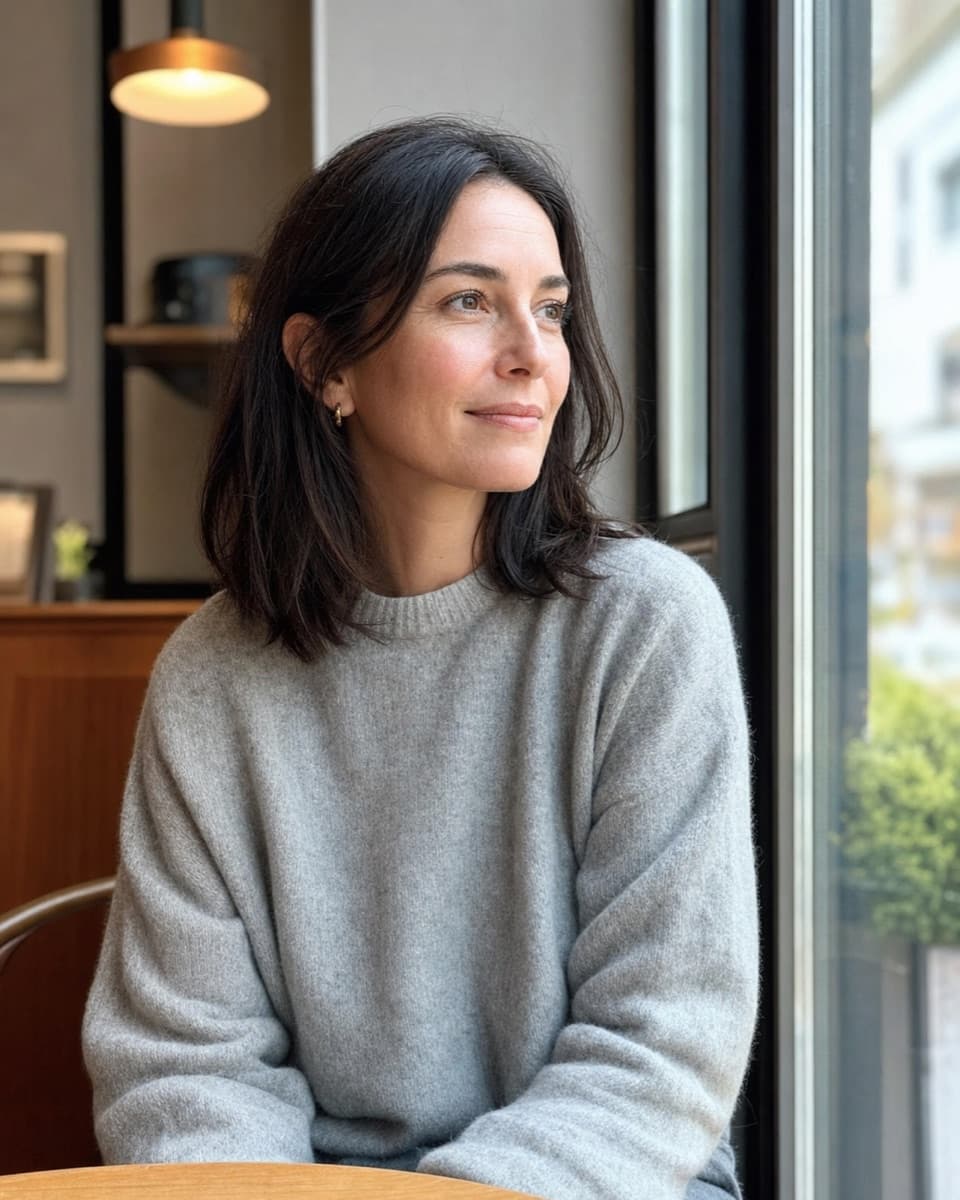
Example photo for the Window-side portrait shot recipe

people · Shot recipe

Window-side portrait

Use soft window light to make a person look clear, natural, and connected.

First move: Place the person beside a window, with the window to one side of their face.

Quick check: Can you see detail in the eyes and on the bright side of the face?

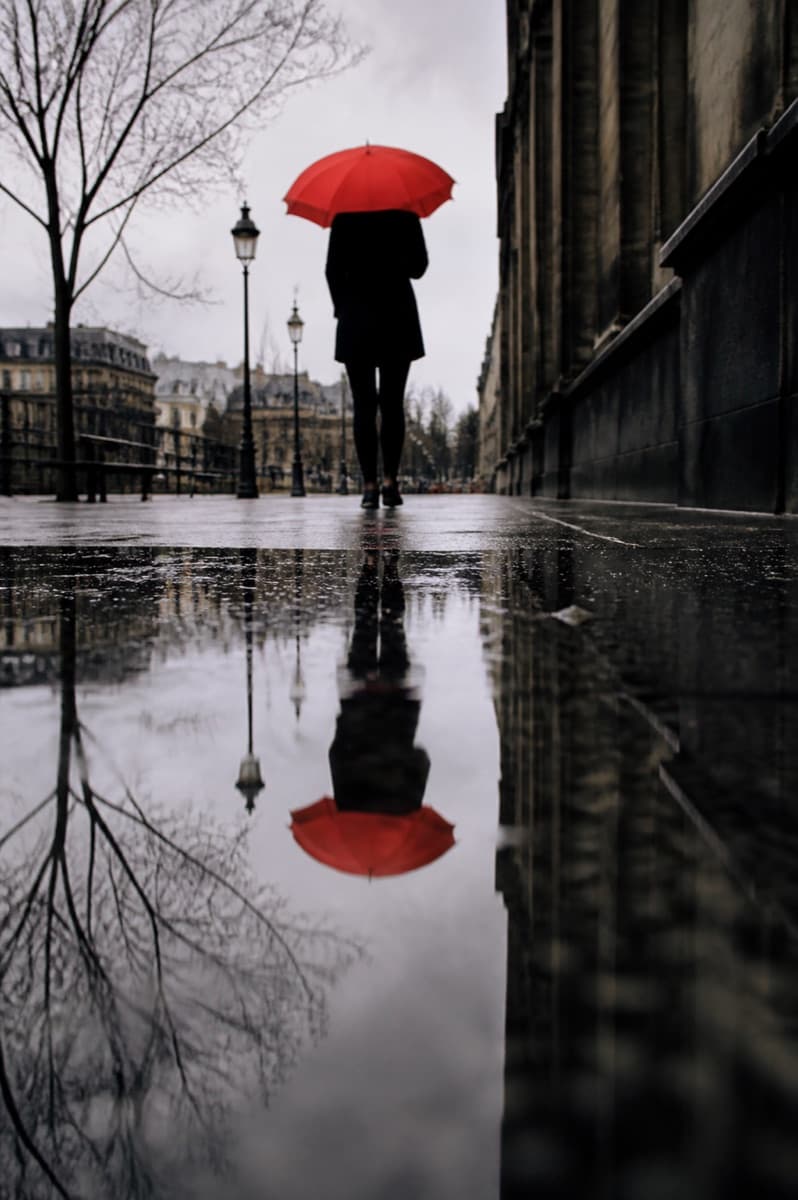
Example photo for the Rain reflection street shot recipe

objects · Shot recipe

Rain reflection street

Make a puddle reflection a deliberate second subject.

First move: Hold the phone close to a puddle without touching the water.

Quick check: Can you recognize what is reflected in the puddle?

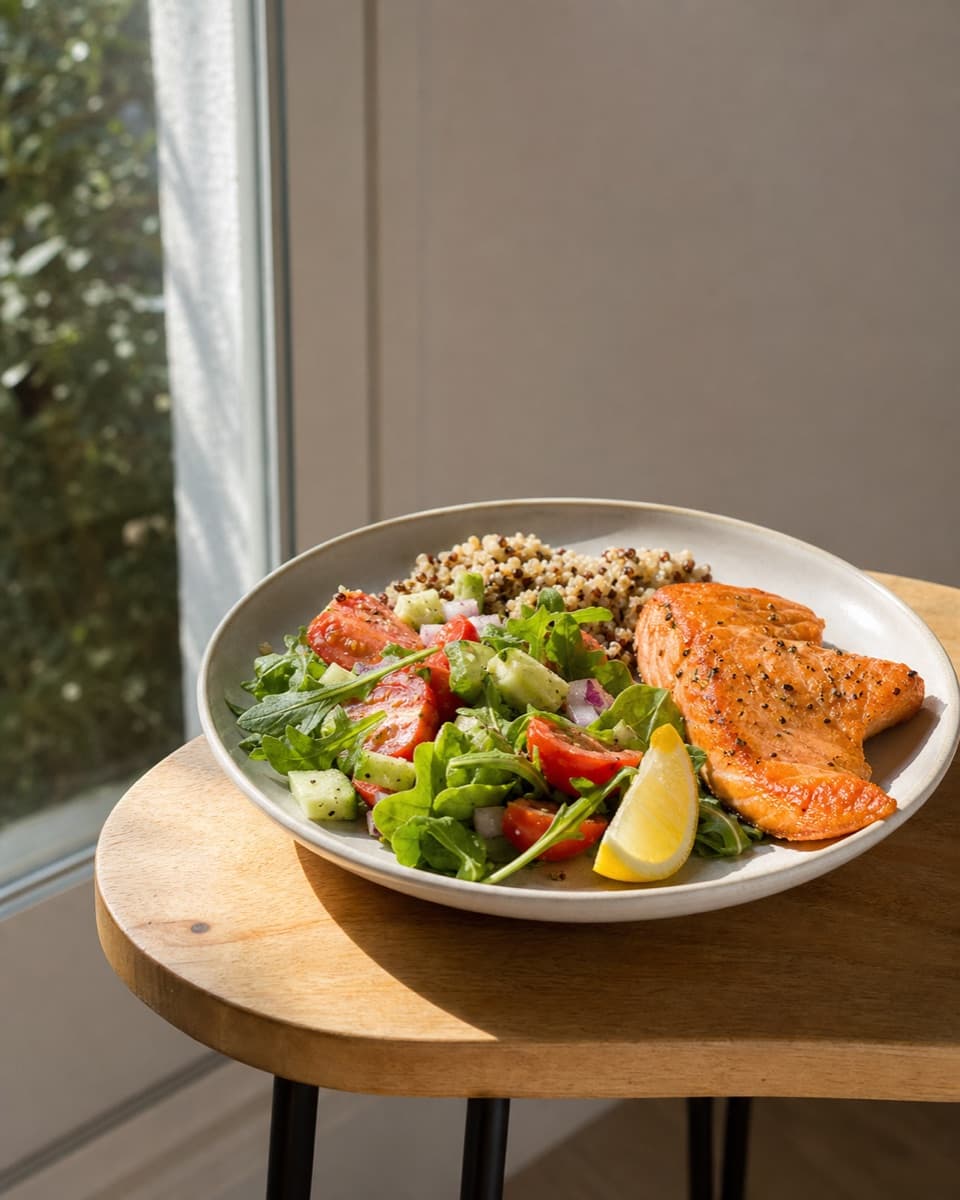
Example photo for the Window-lit plate shot recipe

food · Shot recipe

Window-lit plate

Use side light to make food texture and color feel alive.

First move: Place the plate beside a window so light reaches the food from one side.

Quick check: Can you see the food's texture and layers?

Try it for yourself

Your photos are the next examples.

Choose a photo for review, learn the technique behind the feedback, then try a recipe in the moments you already photograph.

Download free on the App Store →

Free during the limited beta for Apple Intelligence-capable iPhones running iOS 27 or later. Reviews require a network connection.